
![]()
Today I have setup Winlink for the first time.
I Always find it handy to have simple backup communication at hand whenever needed.
So receiving and sending email over the air is a useful addition.
Basic overview of Winlink and Vara HF Modem.
I already was playing with various digital modes on HF, like VARA.
It came to my attention winlink also uses Vara HF as modem part.
So I took the plunge and installed and registered Winlink.
What do you need?
VARA HF Modem: DOWNLOAD
Winlink Express Install: DOWNLOAD
Setting up was pretty straightforward,
As no IC-7610 is added in the setup I am using the following setup with succes.
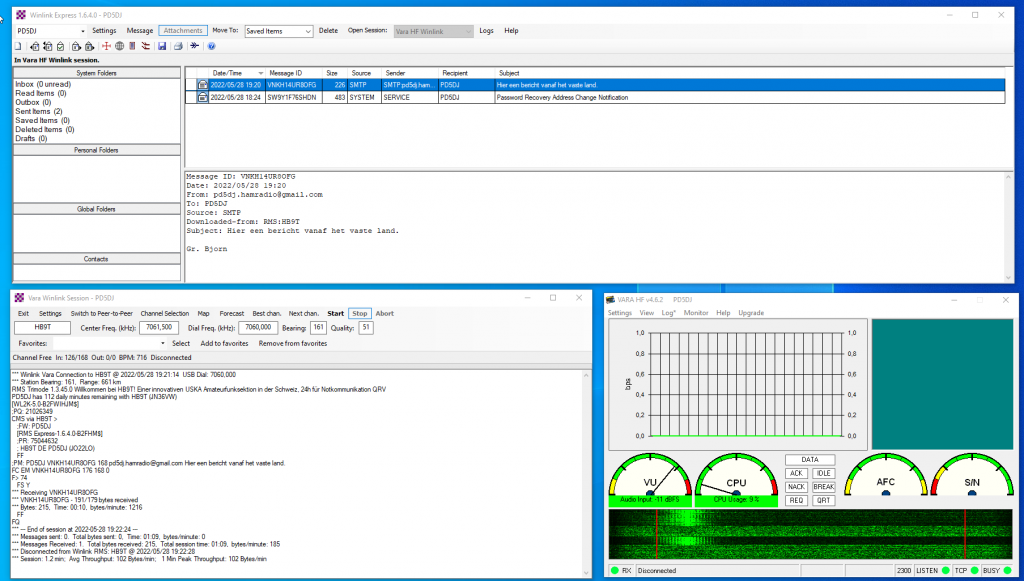
Winlink Setup
Opening a session
To start with, a session has to be opened, because Winlink has to know which modem to use.
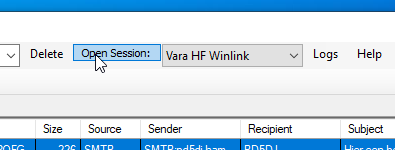
In my case use in VARA HF modem. We therefore select these from the list.
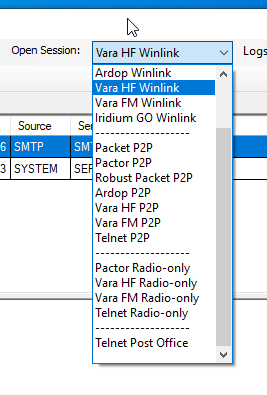 Then we click on “Open Session”
A new window will open up, this is the Winlink Session window.
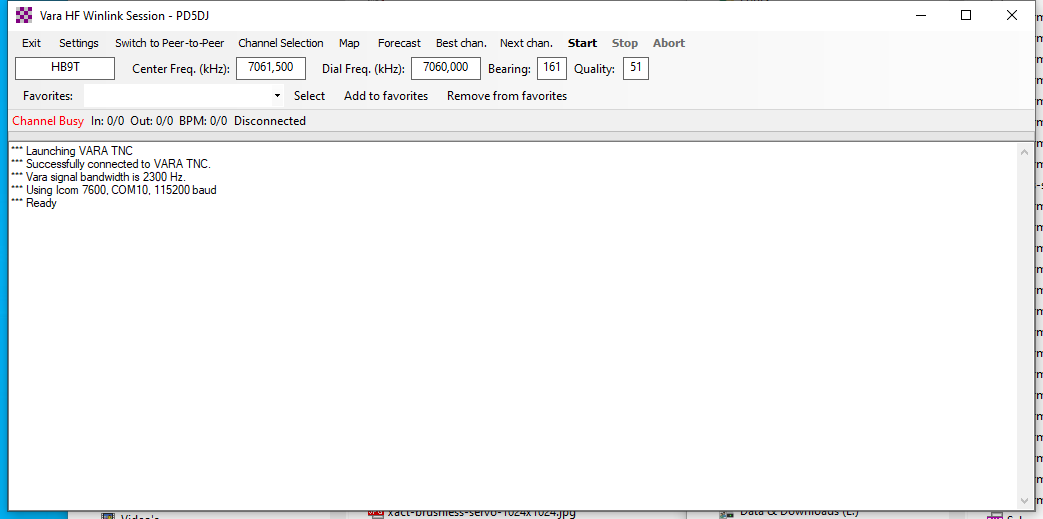
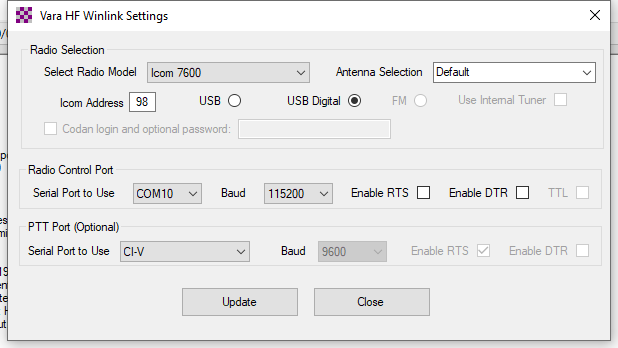
To control your Icom IC-7610 use the following configuration:
Go to settings -> Radio Setup
Radio Selection
Radio Model: Icom 7600
Icom Address: 98
Mode: USB Digital
Serial Port: (Icom CAT port)
Radio Control Port
Baud: 115200 (Must match USB CI-V Baudrate of your radio)
PTT Port
Serial Port: CI-V
VARA HF Setup
Setting UP Vara HF is pretty easy:
Only thing you have to do here, is setting up the soundcard used for receiving and transmitting the audio.
Make sure you have installed and confired Winlink first!, other wise VARA HF modem tuning will not work.
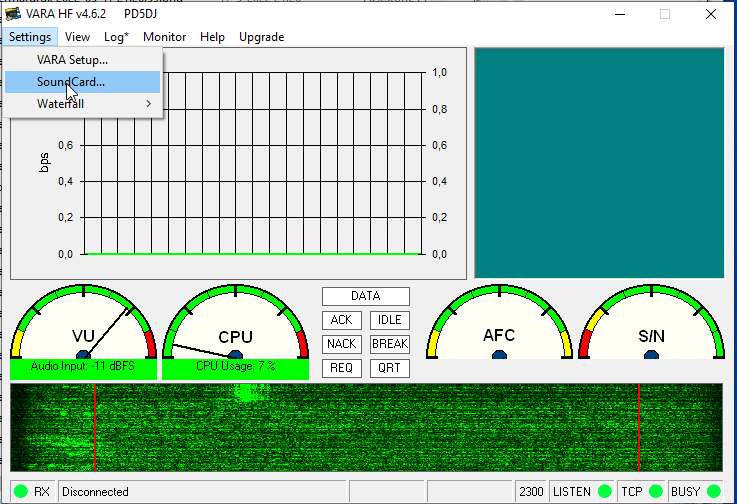
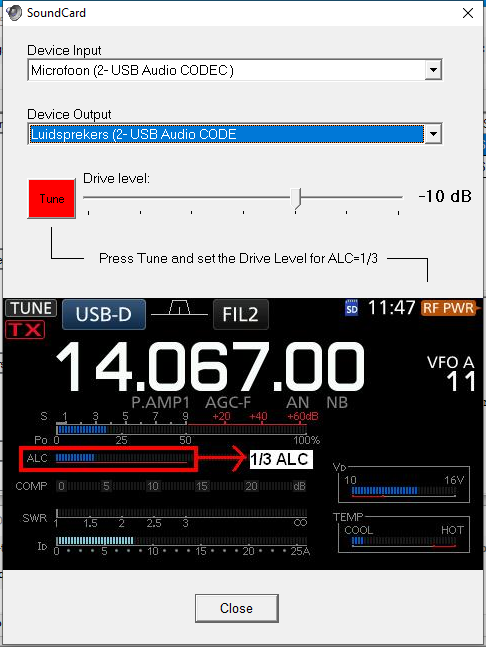
Select the apropriate In and Outputs, and Press the Tune button.
If winlink is configured correctly, your radio should key up, and will start transmitting a test tone.
Use the slider to adjust the TX volume so, that the ALC meter will show a 30% reading.
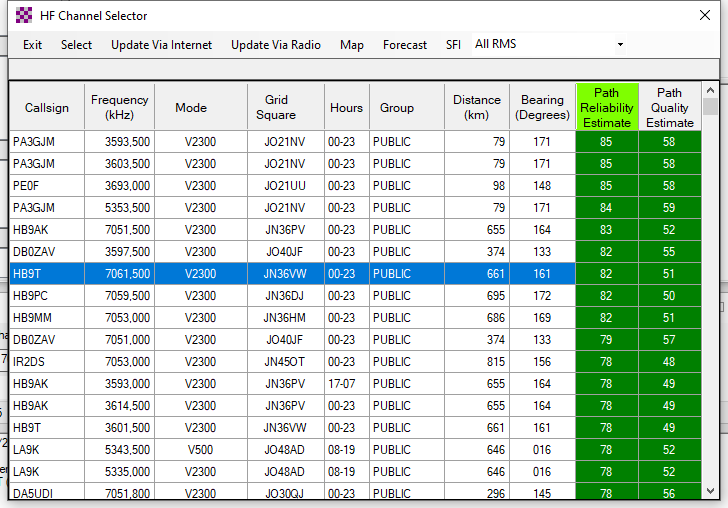
Who to connect??
Worldwide on every band there are winlink servers listening for incoming requests.
Winlink contains an option that calculates for you which station has the best chance of success in connecting. based on best propagation, time and location.
Selecting one of these stations will automatically set your radio to the correct center frequency.
Go to the Winlink Session window and click on Channel Selection in the menu.
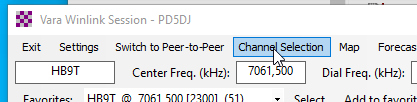
The following is bit of trial and error, for me the station HB9T maintained a good link of the whole transmission.
Compose a new message
Go back to the main window of winlink and press the “New message” button’
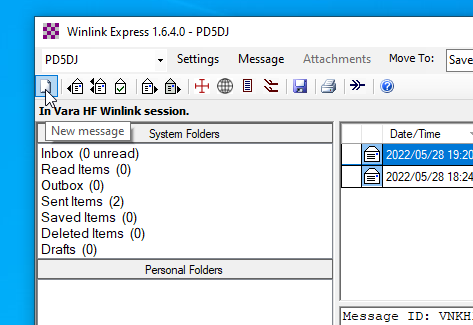
A new window will pop up where you can compose your message.
Just fill it in like a normal email.
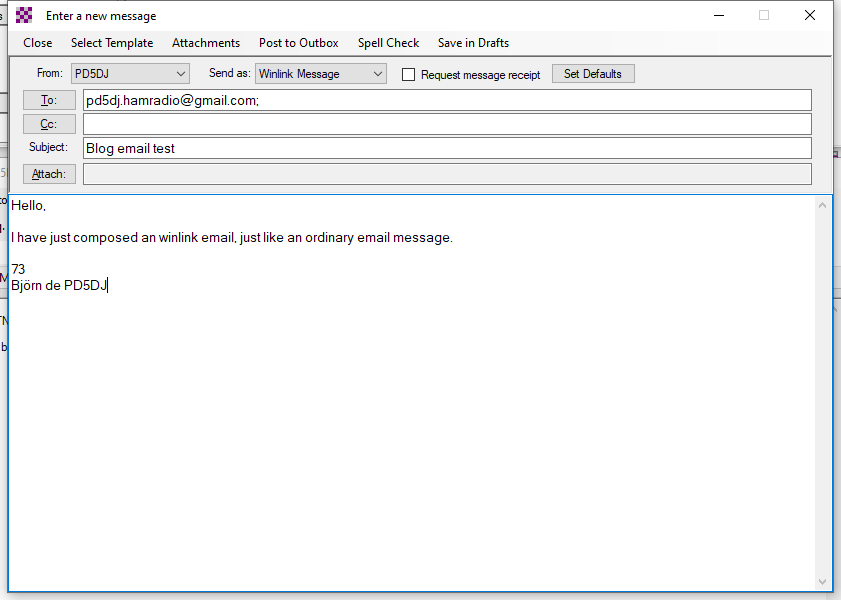
When done click “Post to Outbox”
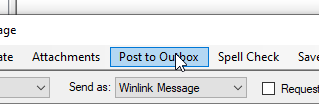 Your email is now in the waiting list to be sent.
Go Back to the Winlink session window and click on “Start”

If all is setup well winlink will try to connect the selected station and sent your email 🙂
![]()
![]()
Server Error
404 – File or directory not found.
The resource you are looking for might have been removed, had its name changed, or is temporarily unavailable. on Winlink Express Install
Fixed, it looked like the link wasn’t saved properly the last time.
73 Bjorn PD5DJ
I click on VARA HF Modem to nownload and next page say:
The file you are trying to download is no longer available
This could be due to the following reasons:
The file has been removed as it violated our Terms of Service.
Invalid URL – the link you are trying to access does not exist.
The file has been deleted by the user.
And for Winlink to nownload and next page say:
Server Error
404 – File or directory not found.
The resource you are looking for might have been removed, had its name changed, or is temporarily unavailable.
Hi,
Thanks for reporting, I have fixed the links.
73
Bjorn PD5DJ