QSO Entry – Main Section
The QSO entry field is the heart of MiniBook.
This is where you enter all the details of a contact (QSO) made with another station.
All fields are clearly organized to make logging quick and intuitive — even during contests or portable activations.
📅 QSO Date & Time
At the top, you’ll find the date and time of the QSO:
-
Date: Displays the current date (automatically filled in but can be changed manually).
-
Time: Displays the current time in UTC format (also adjustable in the Preferences menu).
These fields are automatically filled when starting a new QSO, ensuring your logbook entries are always accurate.
💡 Time Tracking:
![]()
Here you can enable or disable automatic time updating for the QSO.
When this option is enabled, the time is continuously updated while the QSO entry window is active.
If you disable this option, the time remains fixed at the moment the QSO was created.
This is useful when logging multiple QSOs in a row or when adding a QSO later without changing the original time automatically.
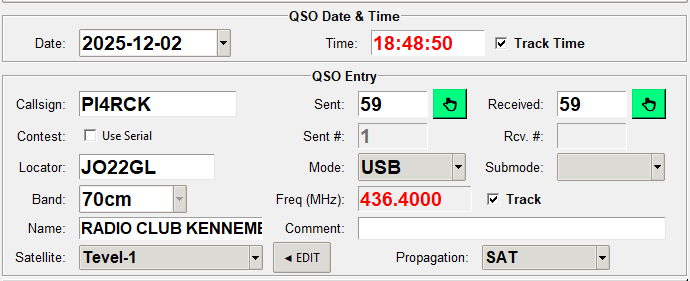
📻 QSO Entry Fields
Below the date and time section, you’ll find the main QSO entry fields:
| Field | Description |
|---|---|
| Callsign | The callsign of the contacted station. MiniBook automatically recognizes valid callsigns. |
| Contest / Use Serial | When enabled, MiniBook automatically assigns serial numbers for contest logging. |
| Locator | The QTH locator (Maidenhead grid) of the contacted station, e.g., “JO22gl”. |
| Band | The amateur band in use (e.g., 40m, 20m, 10m). Determined automatically based on frequency. |
| Freq (MHz) | The exact QSO frequency. Automatically synchronized with the radio via HamlibServer, but can also be entered manually. |
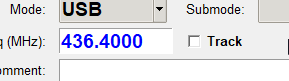
| Mode / Submode | The operating mode (e.g., LSB, USB, CW, FT8). Submode is optional. |
| Name | The name of the operator or club of the contacted station. |
| Comment | Free text field for additional notes about the QSO. |
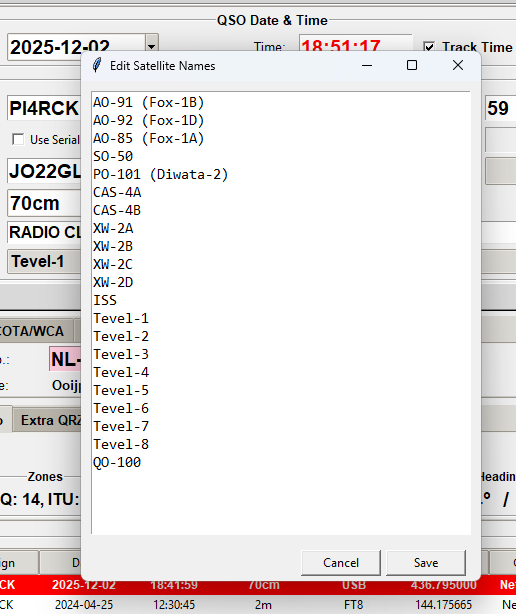
| Satellite | The satellite name. Used for satellite QSOs; usually left blank for HF. |
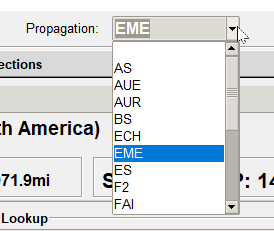
| Propagation | QSO Propagation, i.e. SAT, EME, TEP, ES, F2 |
🔢 Report Fields (RST Sent / Received)
The Sent and Received fields are used for signal reports (RST):
-
Sent – The report you gave to the other station.
-
Received – The report you received from the other station.
On the right-hand side of both fields, there are green buttons.
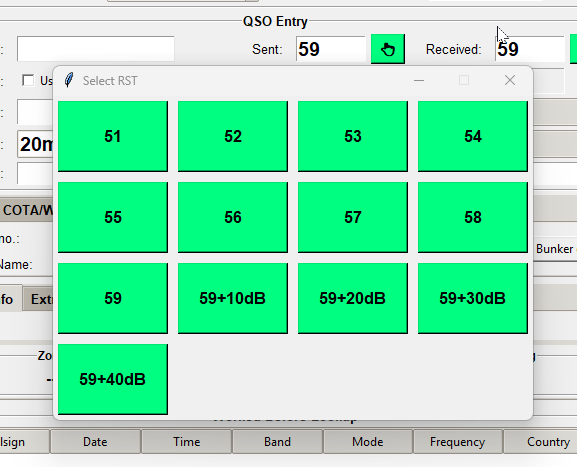
When you press one of these buttons, a quick entry pop-up appears with predefined report options (e.g., 59+20, 57, 58, etc.).
💡 Purpose:
This feature is designed for touchscreen operation — allowing you to quickly enter reports with a single tap, without using the keyboard.
Ideal for field operations or when using a tablet or touchscreen laptop.
Frequency Tracking
When no Hamlib connection is made, Frequency entry is editable (Track is disabled)
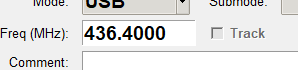
When there is a Hamlib connection, the frequency entry will follow the radio, entry is disabled by default.
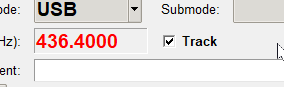
When there is a Hamlib connection, and the Track checkbox is disabled.
Manual Frequency entry is now possible. When checkbox is checked, frequency entry will continue to follow radio input.
Satellite & Propagation
Satellite:
Here you can select a satellite you are working on
You can also edit the Satellites list by pressing the EDIT button right next to it.
Propagation
Here you can select the propagation mode
⚙️ Additional Features
-
Sent # / Rcv. # – Used in contests for automatic serial numbering of contacts.
-
All fields can be auto-filled or updated depending on your preferences, Hamlib connection, and callsign lookup results.
💡 Summary:
The QSO entry section in MiniBook provides a fast, logical, and flexible way to record contacts.
The green RST buttons make report entry especially easy — perfect for touchscreen use.
With the Date / Time Tracking option, you can choose whether QSO time updates automatically or remains fixed — useful for both live logging and post-entry editing.