Update 27-04-2025: New body added, for 16mm tube mount.
I saw 5.6m telescopic antennas on Aliexpress a while ago.
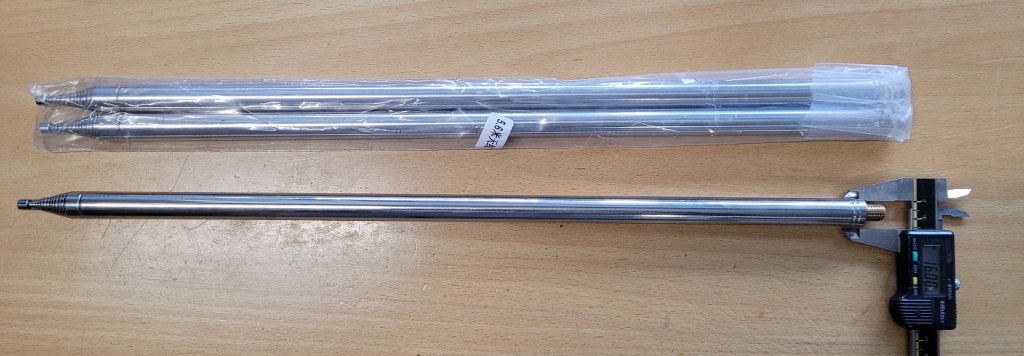
I ordered a set with the idea of doing something fun with them later.
I wanted to make a lightweight dipole to hang in the mast.
Later I thought it would be much more fun to use these antennas for portable use.
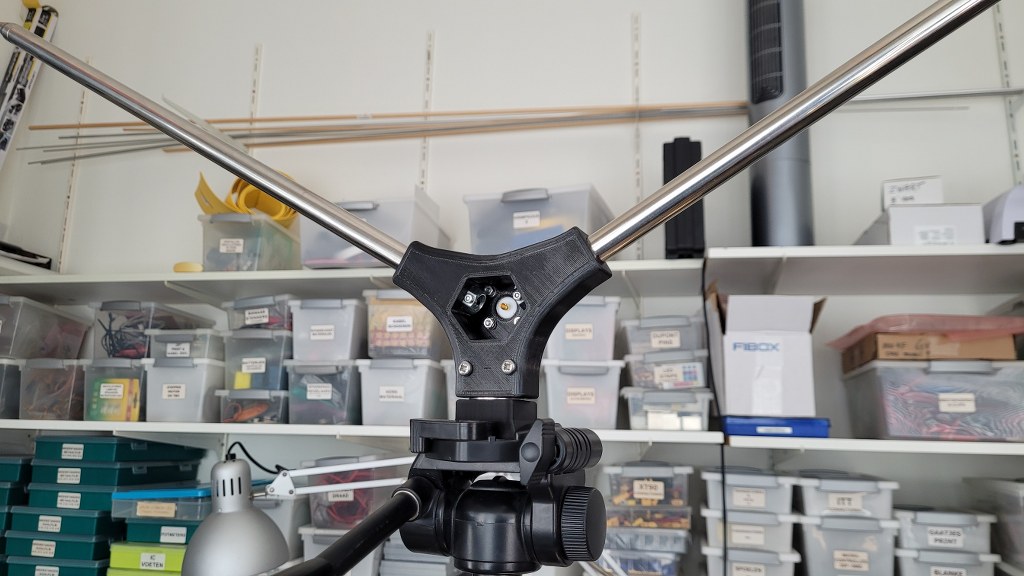
I started drawing and drew a V-Dipole mount for it.
The antennas have a diameter of 16mm and a metric thread M10x1.5
I found M10x1.5 coupling nuts at a local hardware store.
This was the most important thing for the project because I could draw something strong around it.
Once the antennas are extended, there is some stress on the whole thing.
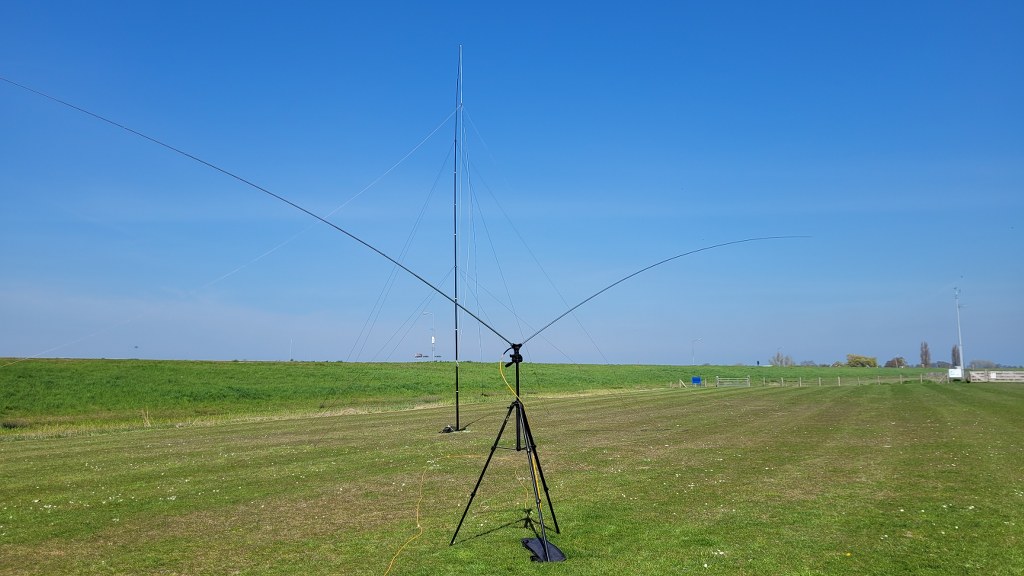
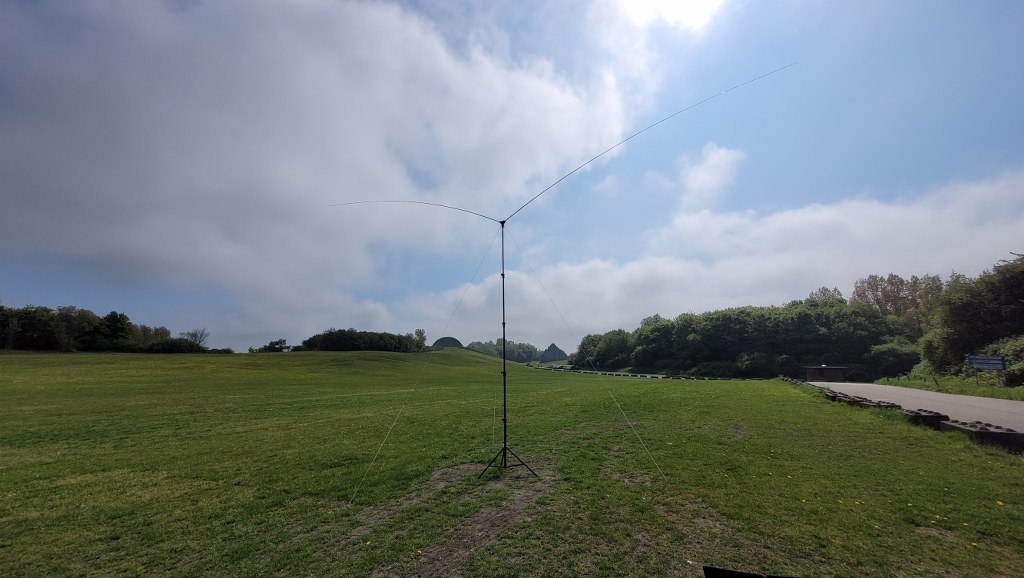
Once I had made a prototype, it was time to test it in the field.
I had also drawn a Shoe so that I could place the V-Dipole mount directly on a Camera tripod.
Even though the tripod is only 2m high, I still went for testing.
Before I did this test, I had already mounted a ZS6BKW on my 12m Spiderbeam Pole.
After working with stations on 20m for a few hours, I tested the V-Dipole on 20m.
I was amazed!.
Even though the antenna was only 2m high, I could work all stations easily. And even pileups were no problem.
I used my standard setup for this. Icom IC-7300 with 100W.

After this afternoon I decided to continue this project and draw a new mount for it with a neater finish.
In the meantime I also ordered Brass Coupling Nuts as all Stainless steel ones I have found where way to thick, and way beyond 13mm width.
When these arrived I had to adjust the drawing a bit. Only a few tenths of a mm to get these coupling nuts to fit properly.
First I used Steel Coupling Nuts from the company Hornbach

The Brass Coupling Nuts I have ordered (Aliexpress)
Note that these are really hard to get in this size.
And Also very expensive, even on Aliexpress!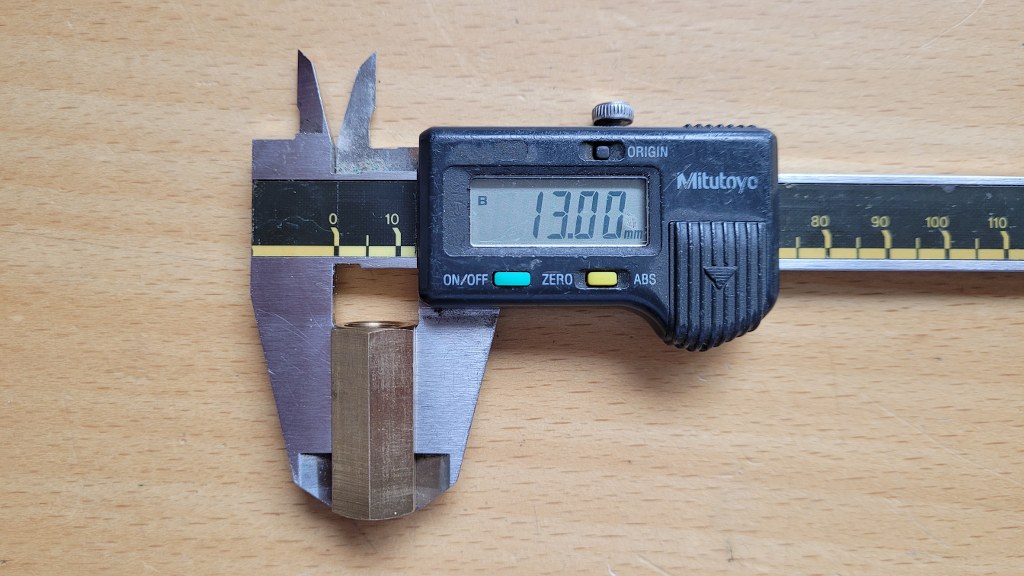
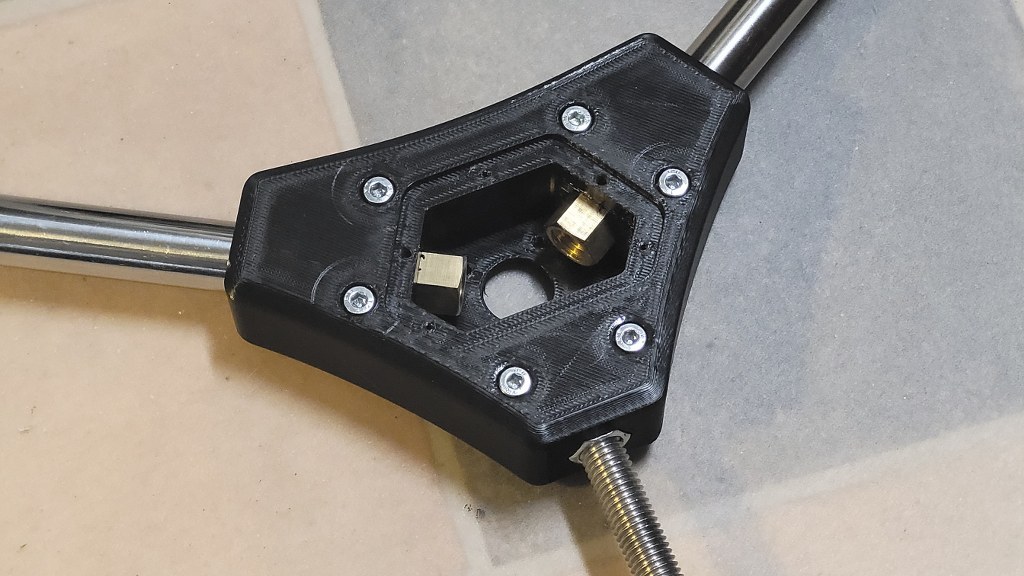
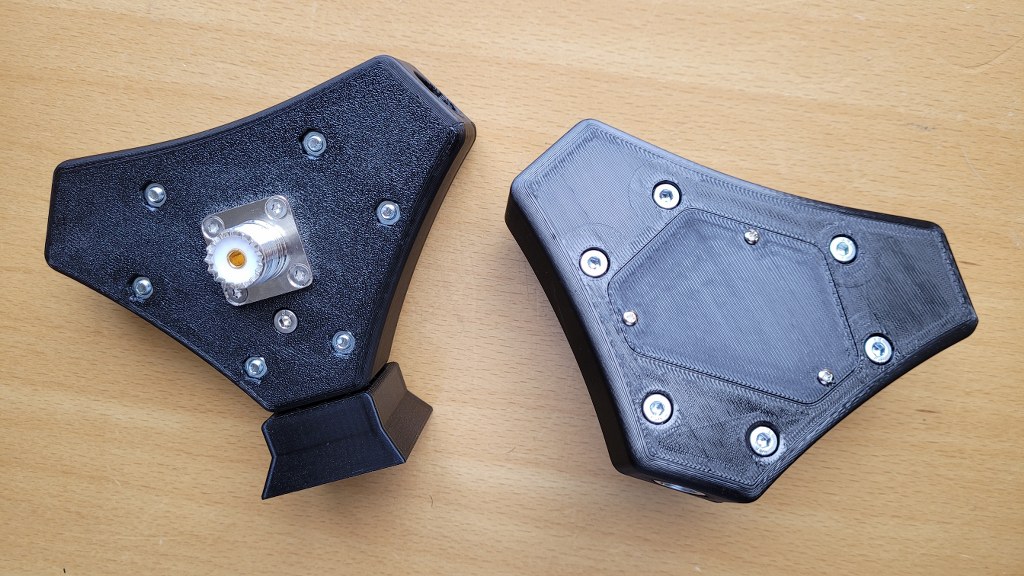
First print after redesign.
Note the 6 Hex bolts, these are added to relief stress on the whole body.
Mounting the Body is also done with a M10 Coupling Nut.
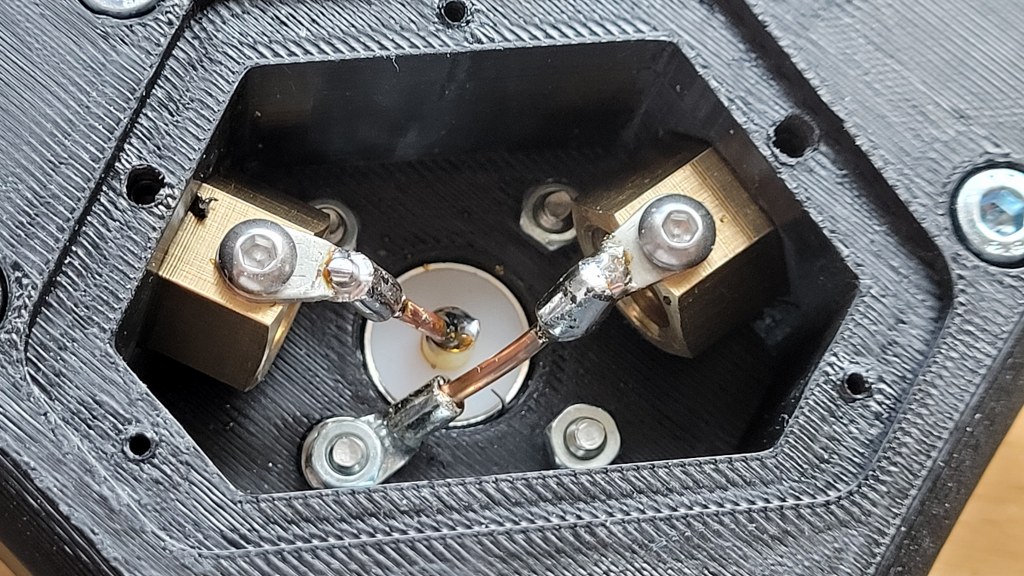
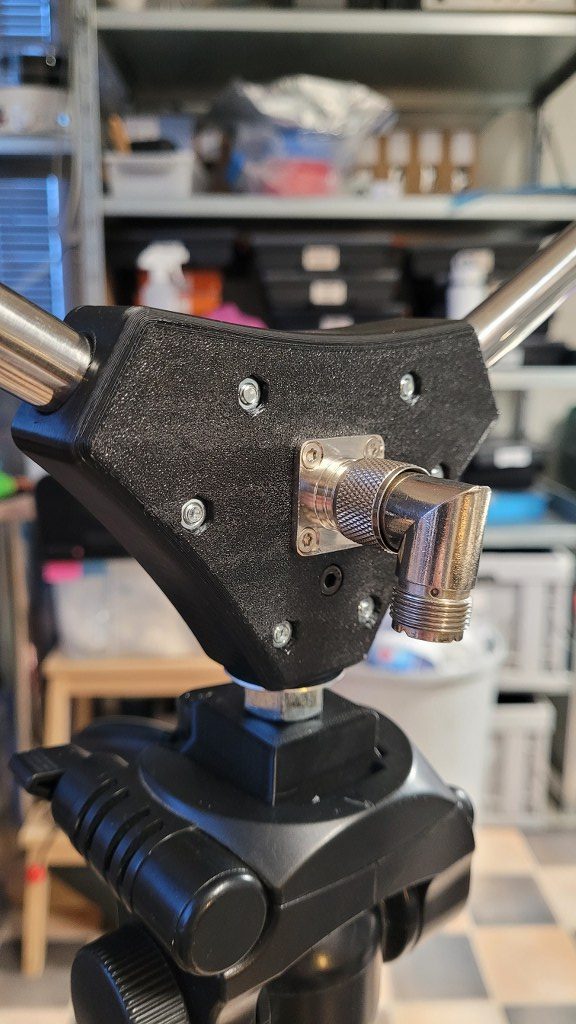
Connections are simple.. Just straight to a SO-239 connector.
You can solder directly to the Brass Coupling Nuts.
But this can easily melt the plastic of the body.
Hence the choice on the coupling nuts provided with M3 thread.
I also added an M4 Hex bolt that holds the M10 Coupling nut in place for the mount.
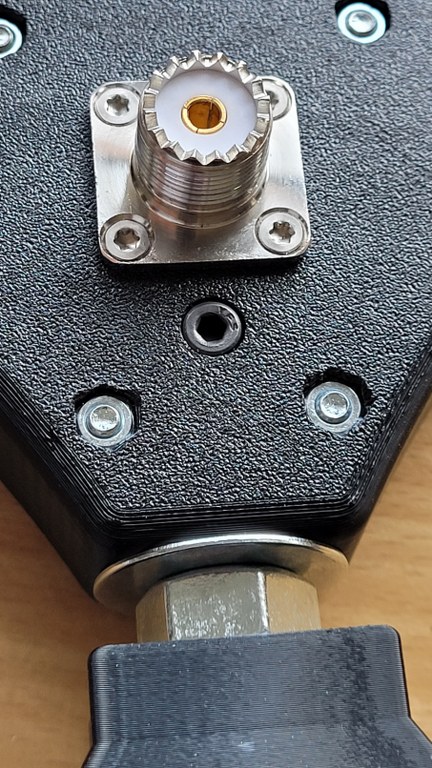
The final finished bodies I made.
A nice cover cap to cover the whole thing up makes it neat.
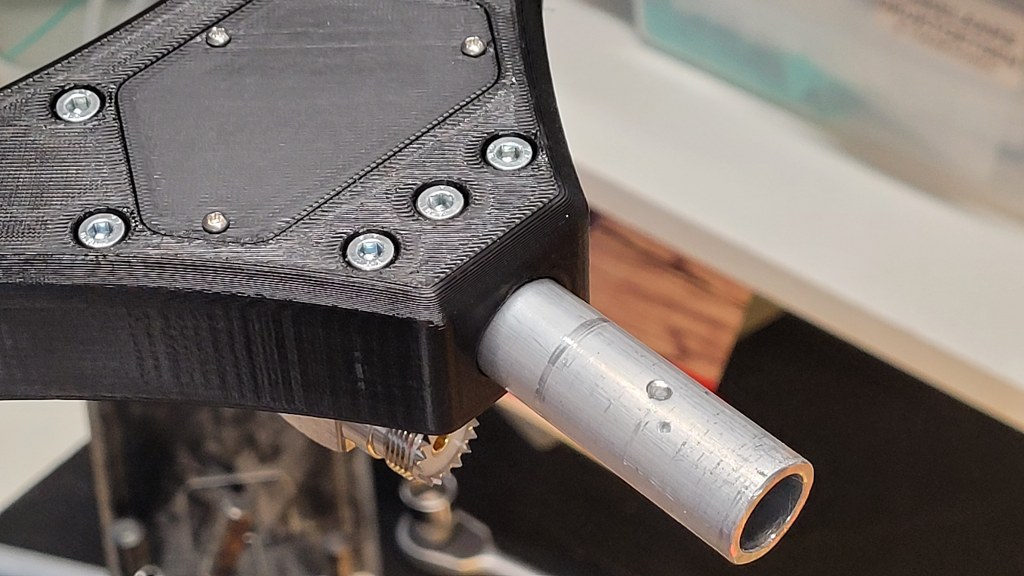
Update 27-04-2025
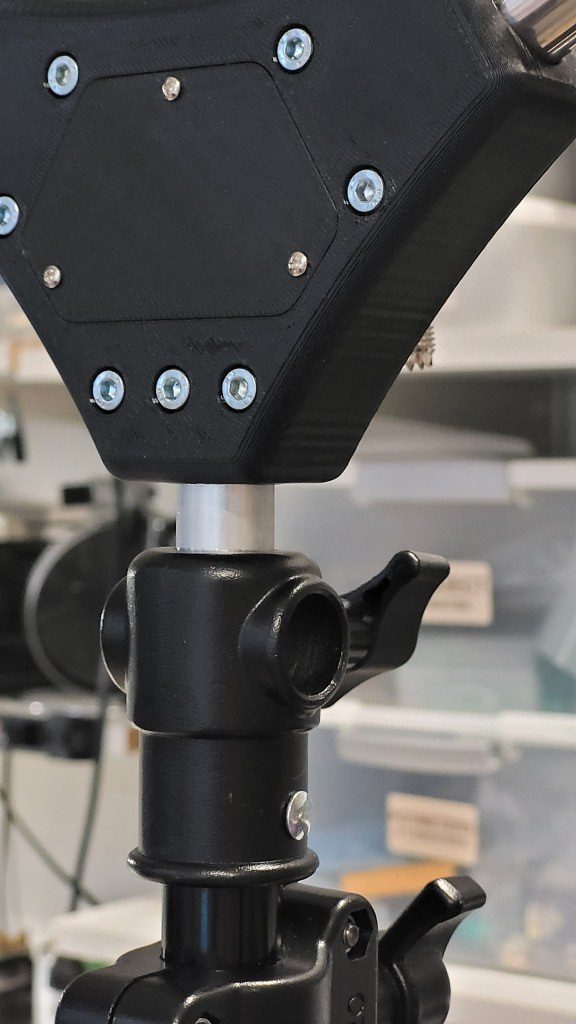
I have added a new body that uses a 16mm Tube for connecting it to Studio Lighting tripods.
|
Hardware Parts
| Needed for Y Piece | |
| Amount | Type / Size |
| 6 | Hex Bolt M4x25mm (+1 for 16mm Tube mount) |
| 6 | M4 Nut (+1 for 16mm Tube mount) |
| 1 | Hex Bolt M4x10mm (only for Coupling nut mount types) |
| 6 | Bolt M3x10mm (prefer 4x sunk) |
| 4 | M3 Nut |
| 6 | M3 Washer |
| 3 | M10 Coupling Nut |
| 3 | Screw 2-3mm |
| 3 | Cable lug M3 Hole |
| 1 | SO239 Connector Flange |
| 1 | 16x2mm Tube if tube mount is used. |
| Needed for Camera Shoe | |
| Amount | Type / Size |
| 1 | M10x30 Bolt |
| 1 | M10 Washer (20mm) |
STL Files
I have made the STL Files available on Thingiverse:
Note!: There are 2 Body Variants. One for 12.8mm Diameter Coupling Nuts, and on for 13.90mm Coupling Nuts.
https://www.thingiverse.com/thing:7014746
Important thing to keep in mind is that strength is essential.
Print the whole thing in PETG with at least 6 Walls, 50% infill Gyroid.
Thanks for your great project! I would like to recreate it with the replacement rope rays of the MC-599. They also have M10. What did you use instead of the choke? Do you have problems with coat waves? What are your experiences with 3D printing and wind load? Maybe you can tell me your experience if there is anything to optimize. Thank you. 73, DO5AE
Hi Achim, As choke we are using simple FT-140/240-43 Core’s with some coax winding.
But even with no choke attached we have never experienced any problems.
About wind load.. the critical factor are the Telescopic whips. not the 3D print ;-), It will outstand the whips.
73 Bjorn – PD5DJ