Updates
Almost every HF radio from ICOM has a Tuner connector, you know that white 4-pin connector at the back of your radio.
Via this connector you can give a command with a switch so that your radio sends out a nice reduced carrier to safely control a tuner.
For most 100-200W radio’s this is approx 10W.
Also, most modern HF radios have a built-in readable SWR meter.
The only disadvantage in combination with this tuner connector/function is that the internal SWR cannot be read during this procedure!
And that’s just annoying.
Because if you use a manual tuner, you want to be able to send out a low power carrier and be able to immediately read the SWR on the radio for proper adjustment.
Well you can’t!
That’s why I opted for a different approach.
Set up your own tuning sequence via CAT CI-V.
Many modern radios now have the option to use CI-V over USB.
There is also a separate CI-V jack on the back of the radio.
These 2 can be used simultaneously.
I use this 3.5mm jack connector for this project.
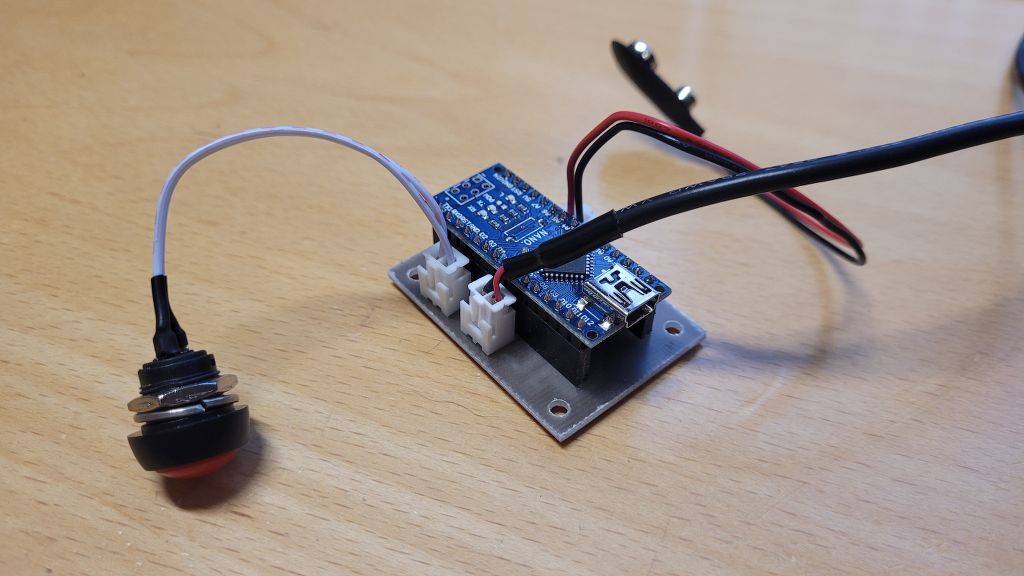
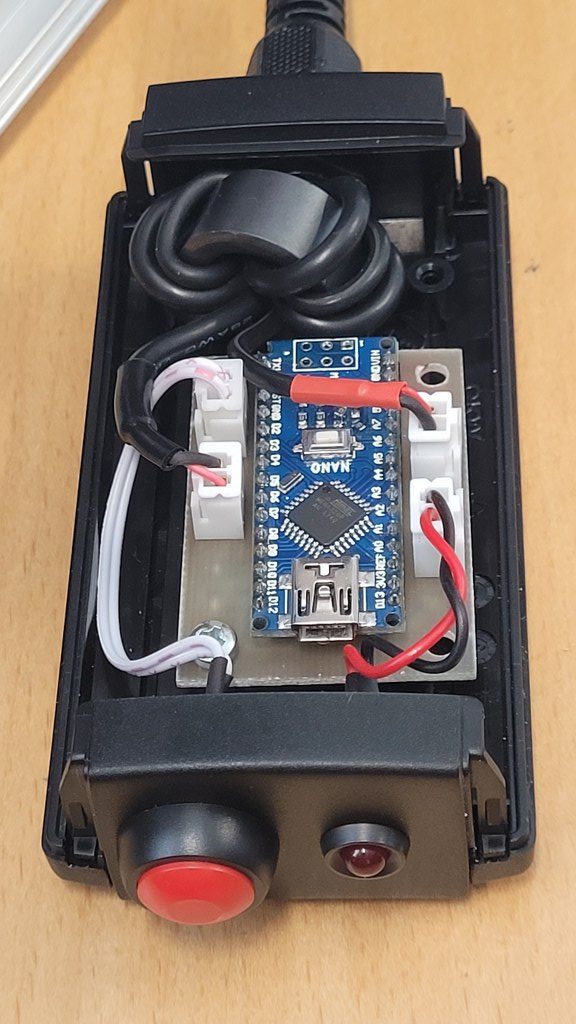
I wrote a piece of software for an arduino nano.
The control is universal and compatible with most ICOM transceivers.
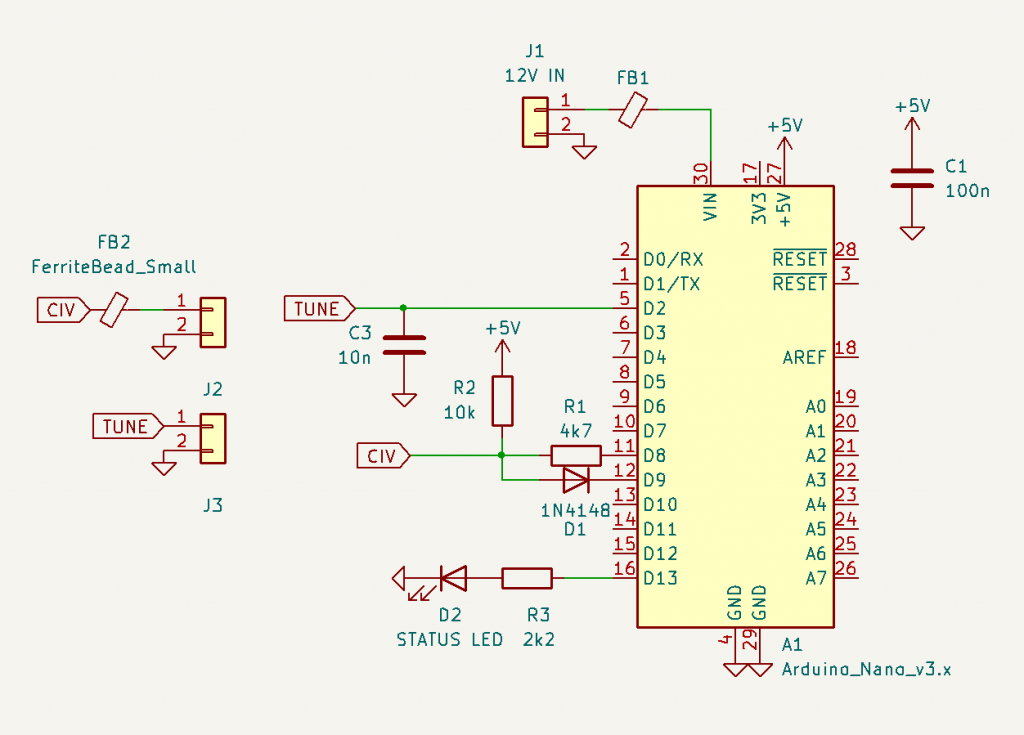
The following diagram shows that the entire component design is not very complicated.
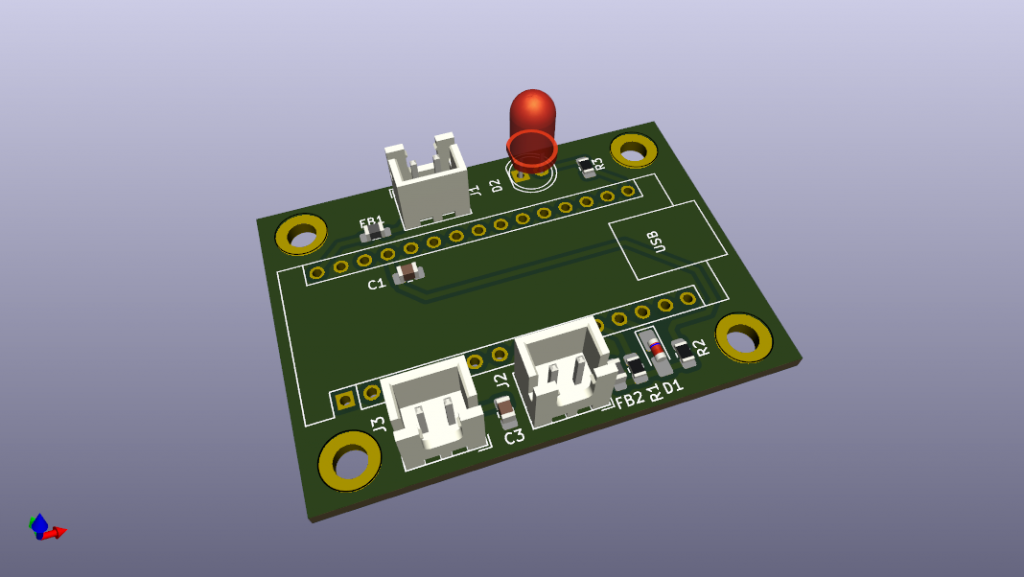
PCB
Sketch
V0.2
- Status Led added on Pin D13
- This led will show if TX is enabled or Error occured (flashing)
- SPLIT Mode Detection
- For the moment, I have implemented a SPLIT mode detection. When active Tuning will not initiate, Led will flash rapidly.
Setting the radio in RTTY while in SPLIT mode, will mess up the SPLIT settings at the specific VFO.
For now I disabled TX when in SPLIT mode. You have to disable SPLIT and perform a Tune at the desired SPLIT TX frequency by hand.
- For the moment, I have implemented a SPLIT mode detection. When active Tuning will not initiate, Led will flash rapidly.
Pressing the push button will execute the following sequence.
Pressing button:
- Read SPLIT mode if activated, Skip Tuning Sequence (v0.2)
- Read Operating Mode, like USB,LSB,FM,AM,CW etc. and Filter 1,2 or 3
- Read Data Mode, Like USB or USB-D etc.
- Read current power level.
- Set tuning power level (10W for 100W -200W radios. 1W for IC705)
- Set radio to Transmit
As long as the push button is held down, the sequence will hang and the radio will continue to transmit.
When the push button is released, the sequence will continue:
- Set radio back to Receive.
- Restore Operating mode and Filter setting.
- Restore Data mode if used.
- Restore Power Level.


what can I edit in the arduino environment to make your ‘civ.listen’ function compile up for the UNO R4 WIFI, and not
just the Arduino Nano?
thanks in advance! KE6JMG 73